.png)
How to get a License NFT
How to get a License NFT (ETCMCv2)
This guide shows how to buy or obtain an ETCMCv2 License NFT on Ethereum Classic using the official license page. You will connect your wallet, choose a method (Mint, Claim Legacy, or Marketplace), and confirm the required prompts in your wallet (e.g., MetaMask)
Table of Contents
1) Before you start 2) Open the license page & connect your wallet 3) Choose a method (Mint / Claim Legacy / Marketplace) 4) Confirm in MetaMask (Spending Cap + Transaction) 5) After completion (My Licenses + Token ID)1) Before you start
Useful links
- If you need to swap into ETCPOWv2, open the DEX: https://swap.etcmc.xyz/#/swap
- If you need to add the token to your wallet first: https://status.etcmc-monitor.org/tutorials/add-etcpowv2-etc-to-metamask
- License page: https://main.etcmc.xyz/licenses
Tip: If a button doesn’t work, try opening the page in your wallet’s in-app browser (MetaMask mobile) or ensure the MetaMask browser extension is enabled.
2) Open the license page & connect your wallet
- Open the official license page: https://main.etcmc.xyz/licenses
- Click Connect Wallet.
- Select MetaMask (or another supported wallet) and confirm the connection in your wallet.
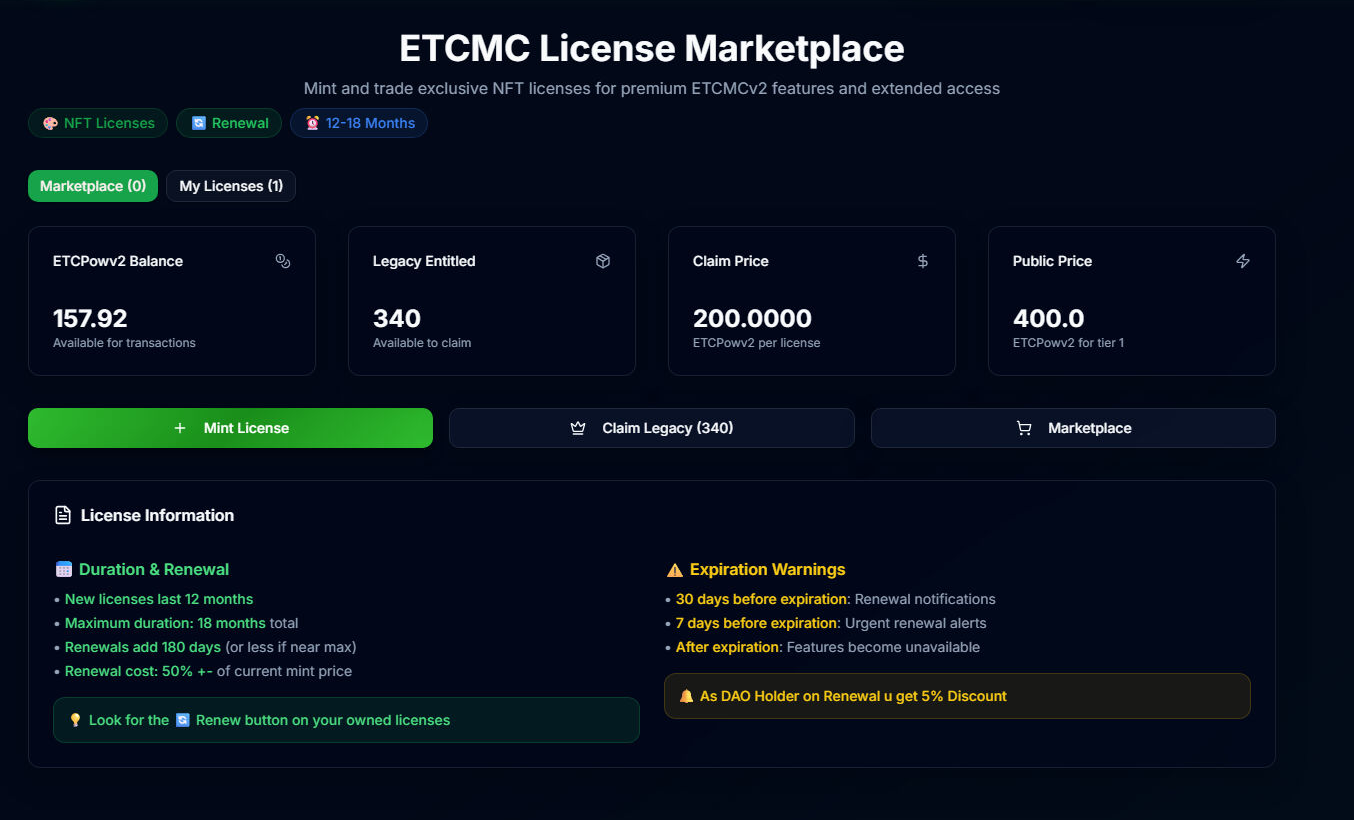
3) Choose a method
After your wallet is connected, you have three ways to obtain a license NFT:
Available options
- Mint License — Creates a brand-new License NFT.
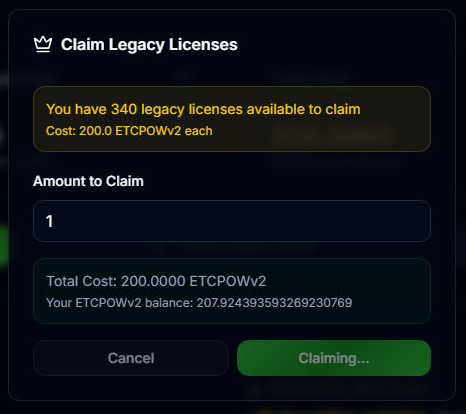
- Claim Legacy — Uses a v1 license/NFT entitlement to mint a new License NFT, usually with a discount. (If you have legacy eligibility, the page will show it.)
- Marketplace — Buy License NFTs listed by other users (secondary market).
In most cases, you will use Mint License (new) or Claim Legacy (legacy discount). The Marketplace is for purchasing already-minted licenses from other users.
4) Confirm in MetaMask (or another supported wallet)
When you click Mint or Claim, your wallet will open and you must approve the prompts. Typically, there are two confirmations:
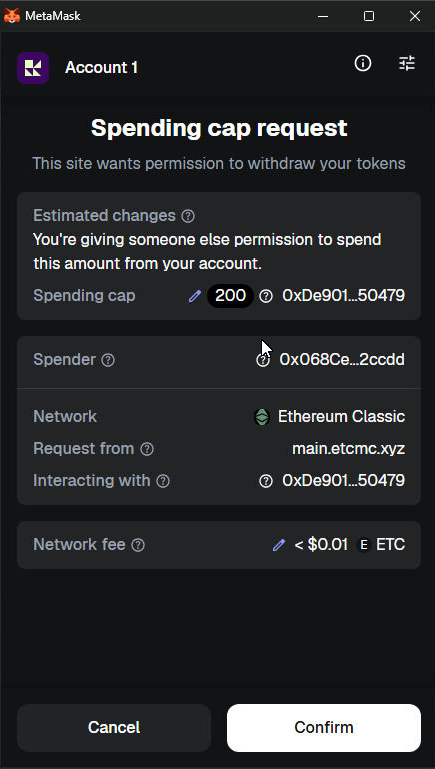
4.1 Spending Cap / Token Approval
First, MetaMask may show a Spending cap request. This allows the dApp contract to spend the required amount of tokens for the mint/claim. Review the amount and click Confirm.
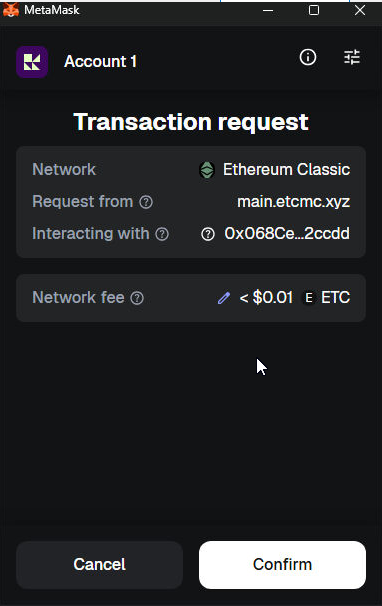
4.2 Transaction Confirmation
Next, MetaMask will show the actual transaction request. Confirm it to submit the mint/claim on-chain. (A small ETC network fee may apply.)
4.3 Wait for completion
After confirming, the license page may show a Claiming... / processing state while the transaction is mined. This can take a moment depending on network conditions.
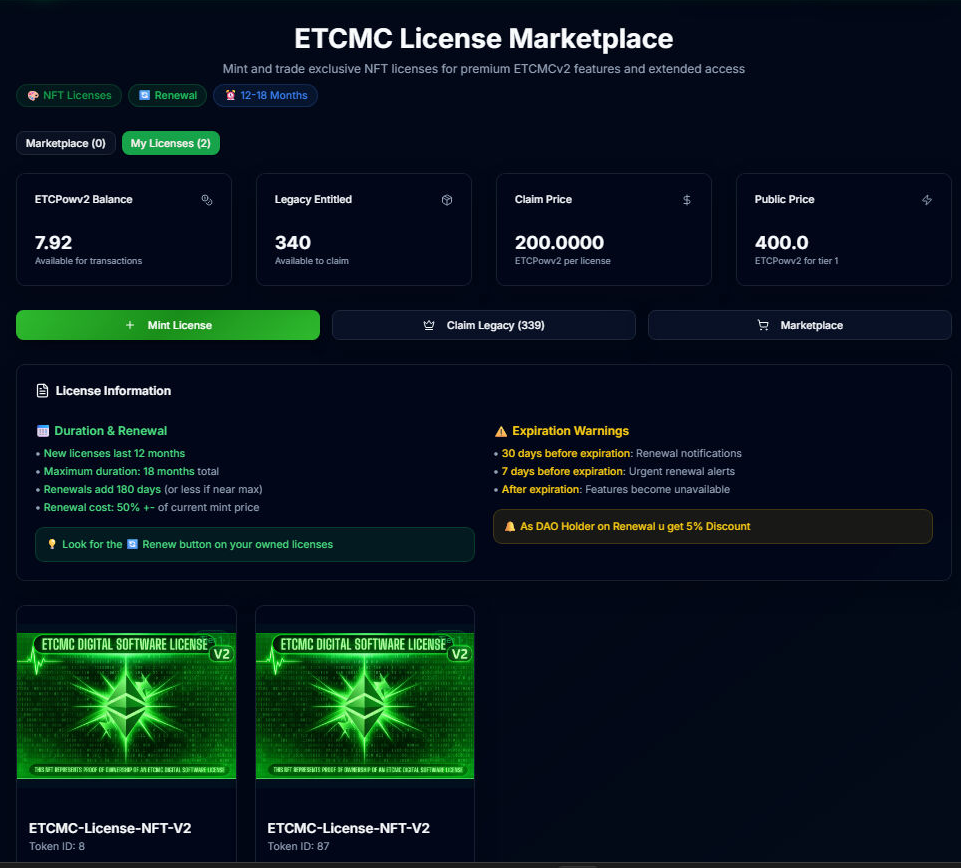
5) After completion (My Licenses + Token ID)
- Once the transaction is finished, refresh the license page (F5 / pull-to-refresh).
- Go to the My Licenses tab.
- Your new License NFT should appear there.
- Important: Note the Token ID of your License NFT — you will need it later for software registration.