.png)
Running an Node on ETCMCv2 - Windows
Running a Node on ETCMCv2 - Windows
This tutorial shows how to install the ETCMCv2 Windows client, start it as administrator, log in to the local dashboard, register your node with a License NFT, and start the node.
Table of Contents
1) Requirements & download 2) Install the Windows software (video) 3) Start the ETCMC client as Administrator 4) Log in to the local dashboard 5) Open Registration (Manual Input) 6) Select License NFT & register node 7) Start the node1) Requirements & download
Required first
- Windows PC
- A valid ETCMCv2 License NFT
- Your wallet address (the one that holds the license)
- Email address for registration
Download the software
Download the Windows installer (.msi) here:
https://github.com/Nowalski/ETCMC_Software/releases/download/Setup%2FWindows/ETCMC.msi
2) Install the Windows software (video)
Run the downloaded ETCMC.msi installer and complete the installation on Windows.
The video below shows the installation process.
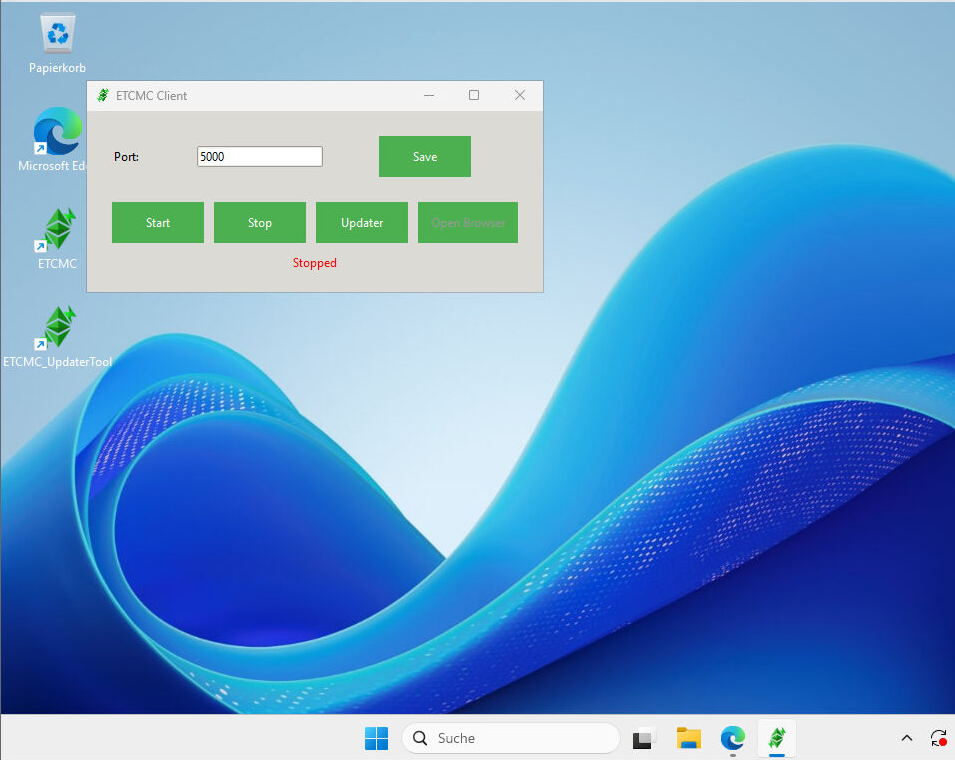
3) Start the ETCMC client as Administrator
When the ETCMC Client window opens, click Start.
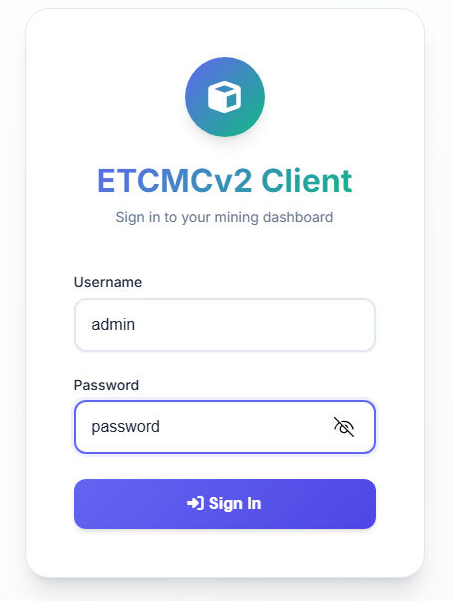
4) Log in to the local dashboard
After the client starts, your browser should open automatically. Log in with the default credentials:
adminpasswordIf the browser does not open automatically, you can usually open it manually via the client or go to the local address shown by the client.
5) Open Registration (Manual Input)
- Scroll down in the dashboard until you see Open Registration.
- Click Open Registration.
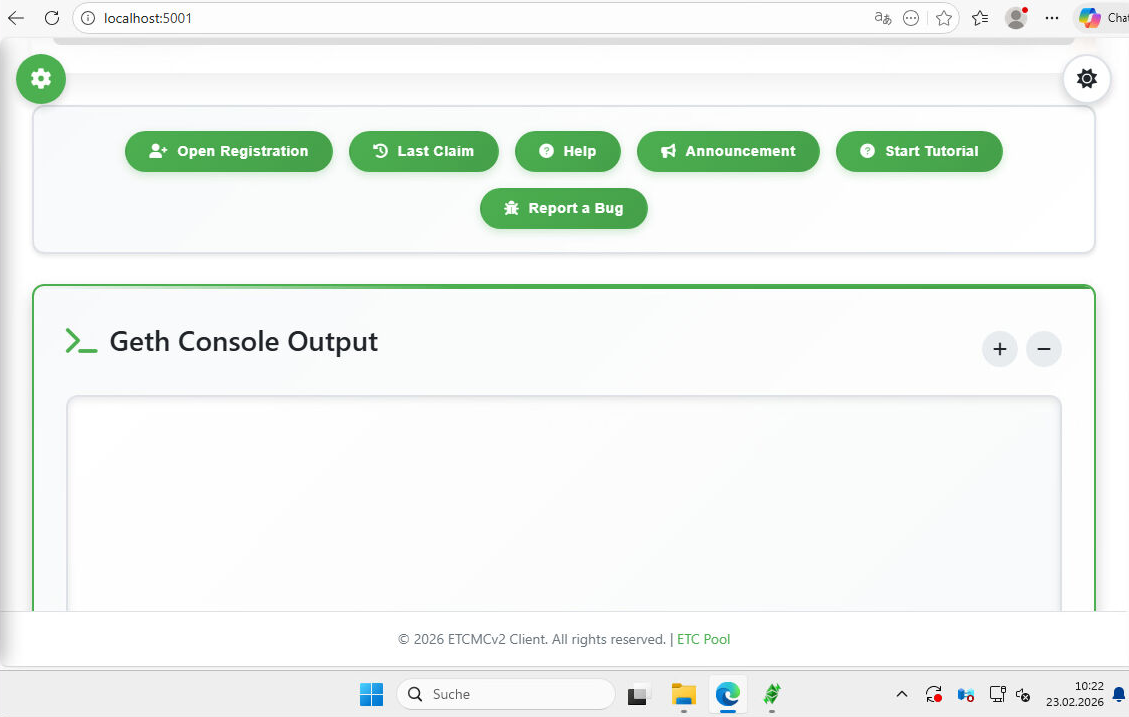
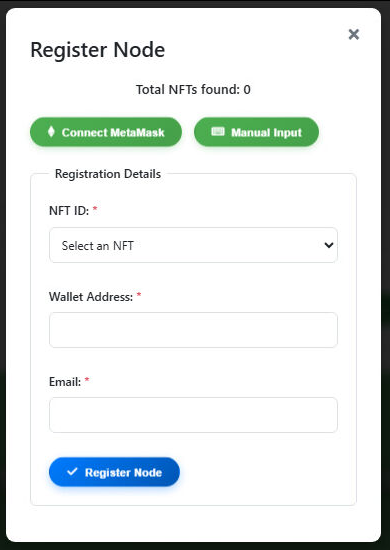
The Register Node dialog opens. There are two options:
- Connect MetaMask (automatic)
- Manual Input (manual wallet entry)
6) Select License NFT & register node
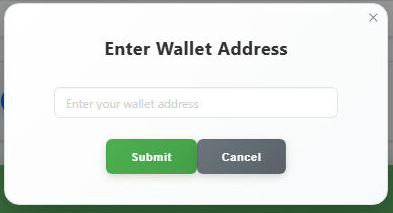
6.1 Enter wallet address
Paste your wallet address (the wallet that owns your License NFT).
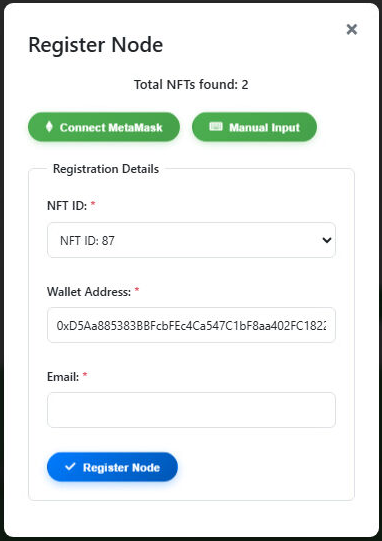
6.2 Select an available License NFT
The registration window will list the available License NFTs found for your wallet. Select an unused license NFT, enter your email address, and click Register Node.
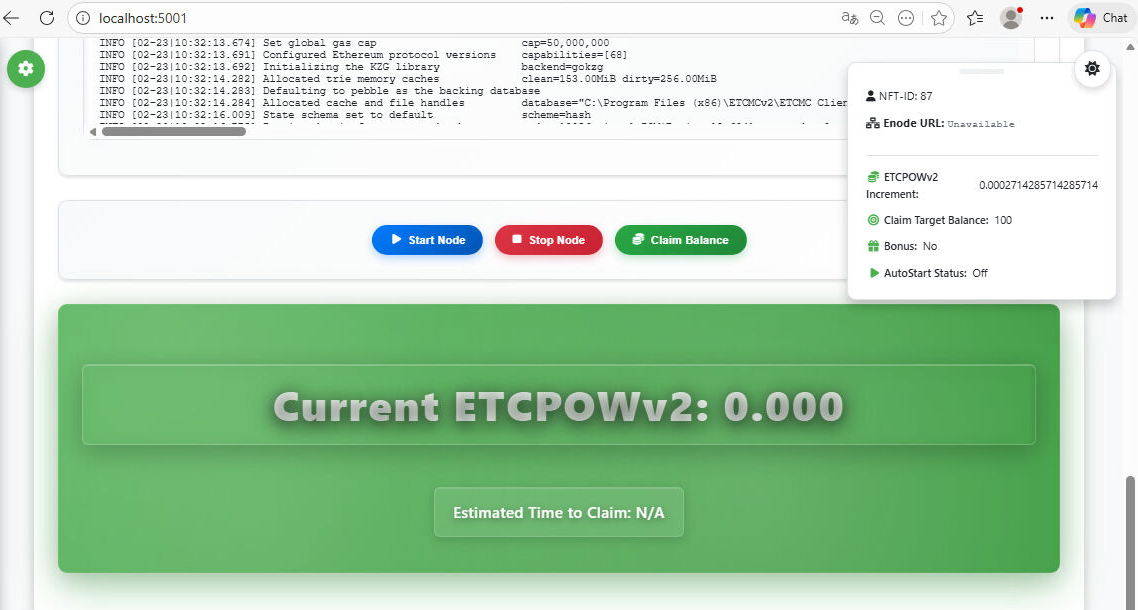
7) Start the node
After registration is complete, go back to the dashboard and click Start Node.